The 10 Steps of Editing a Novel
Editing is the final hurdle between you and a finished novel…
And what a complex hurdle it can be! Editing a novel requires you to focus on so many things, from typos and spelling, to story-breaking plot holes and characterization. It’s no wonder that writers get lost in the editing process—there’s just too much to worry about.
Fortunately, there is a simple way to keep yourself on track as you work on editing your novel. By having a plan from the start, you’ll not only save yourself from a lot of extra work and headaches, but also from the stress of not knowing what comes next.
_______________________________
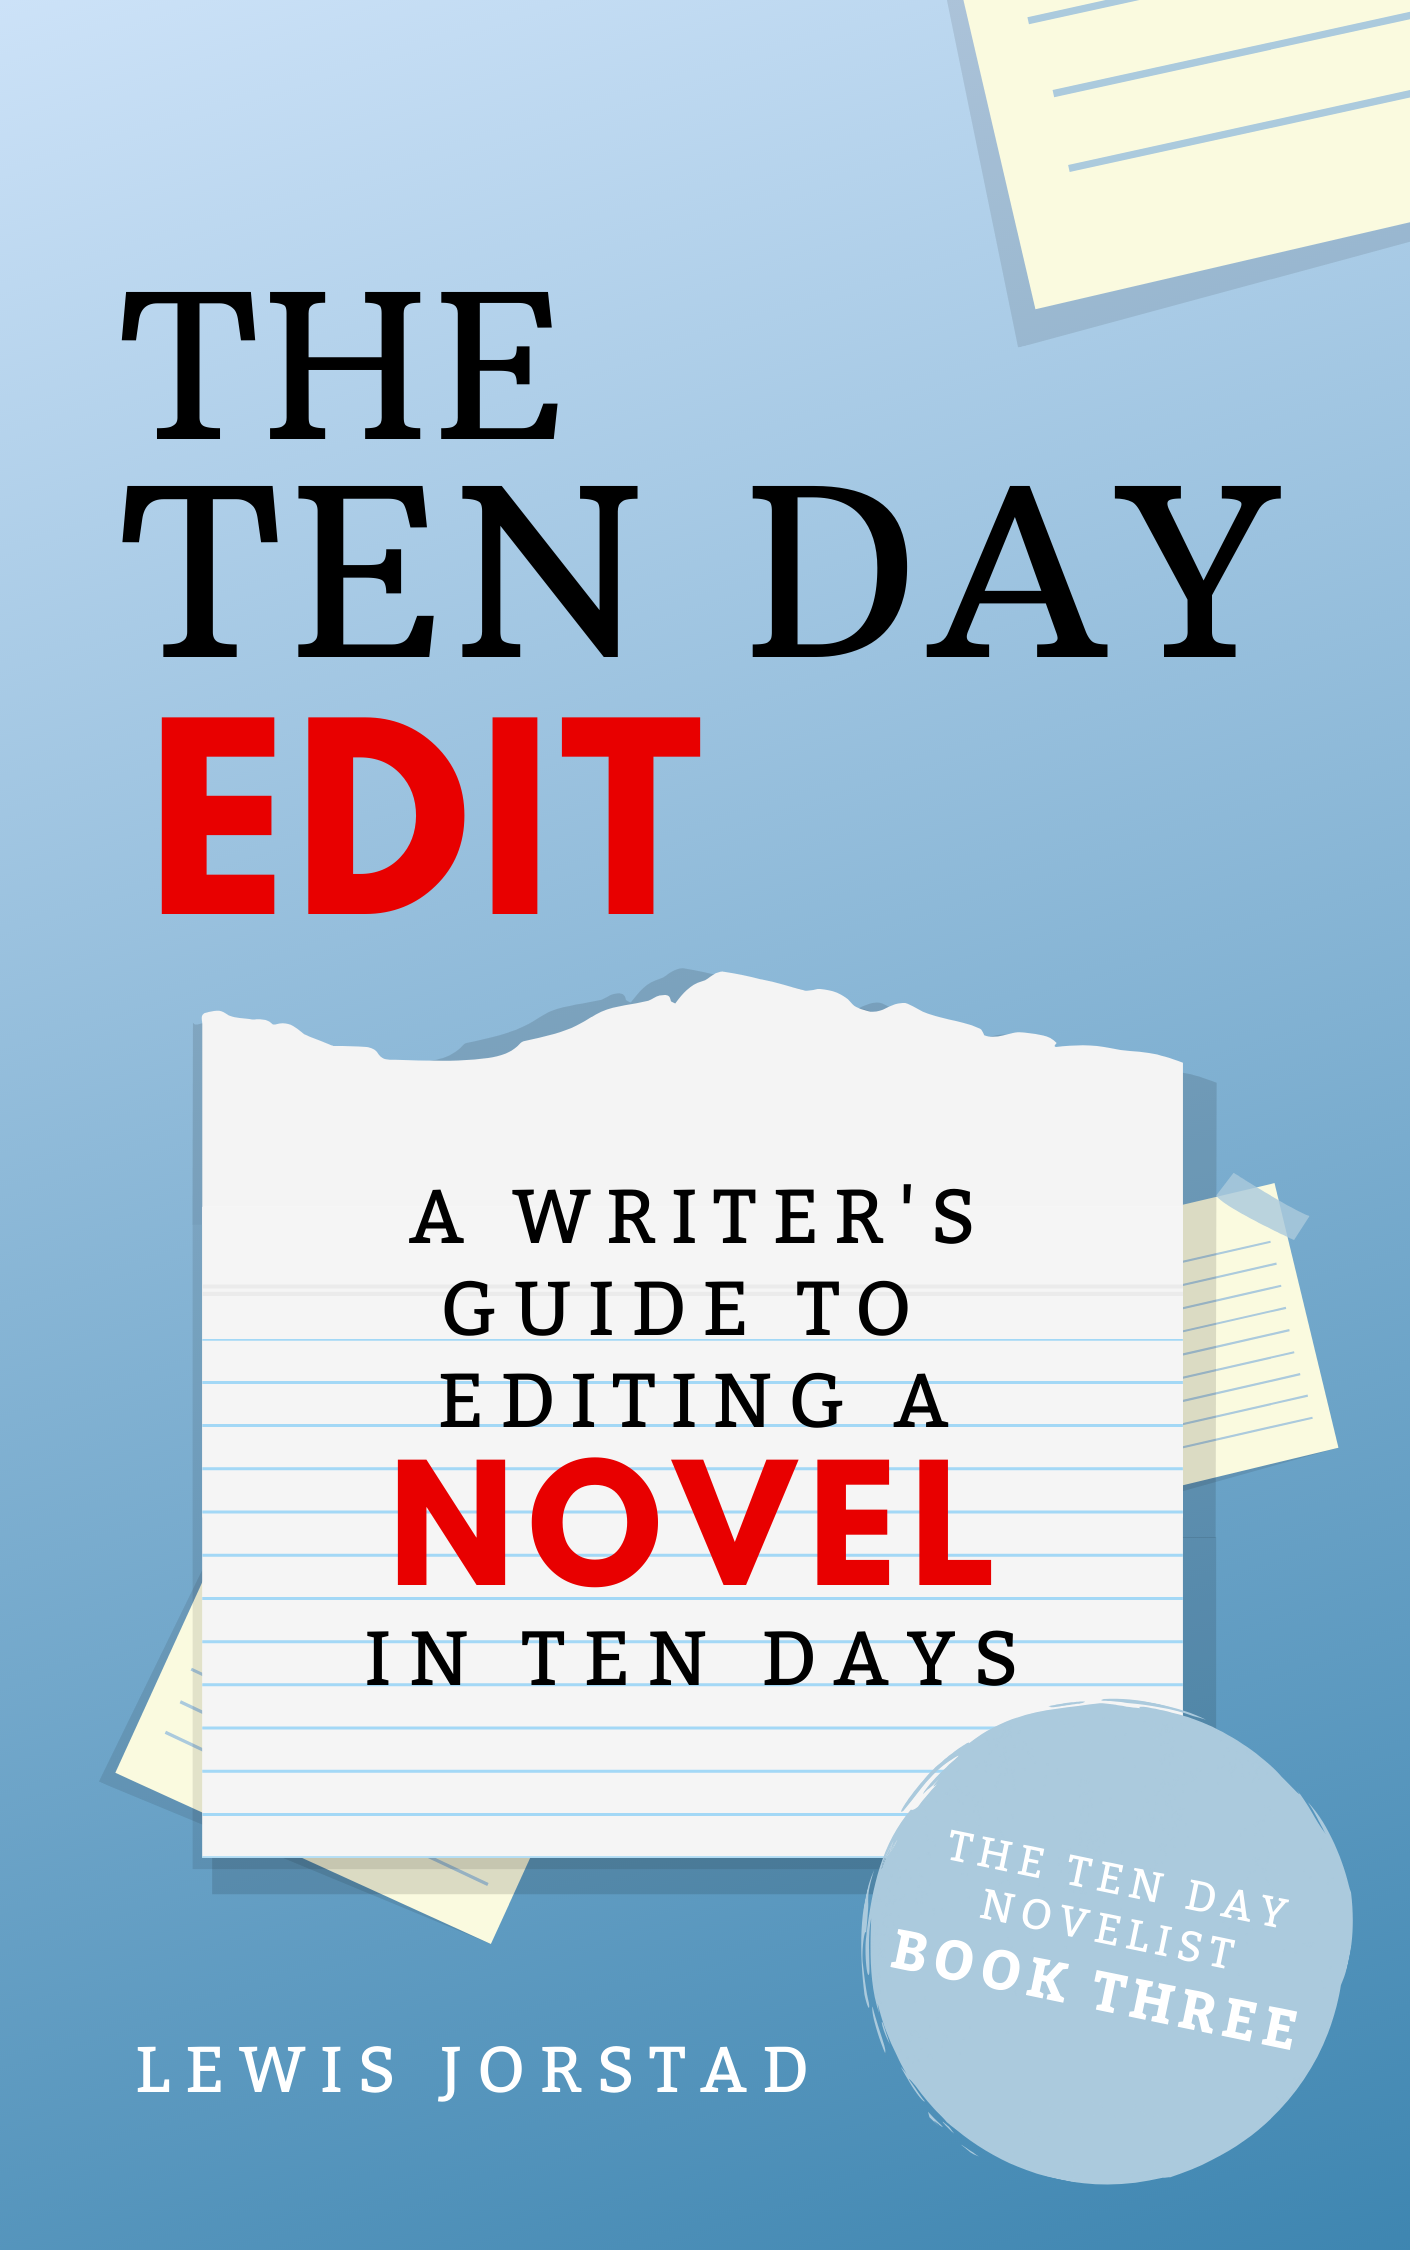
This article is based on my new book, The Ten Day Edit.
Through a simple, ten-day challenge, this book will guide you through every step of editing a novel, saving you from a lot of overwhelm along the way. If you enjoy this post, I hope you’ll consider checking it out and trying the challenge for yourself! 🙂
_______________________________
The Many Challenges of the Editing Process
Contents
 We’ve talked a lot about editing your novel over the last few weeks, including everything from handling your second draft, to perfecting your opening line and proofreading your manuscript. There’s only one question…
How do these things connect?
You see, when it comes to editing a novel, you have a lot on your plate. You’ll need to hunt down the problems with your story’s structure and characters, while also refining your scenes and chapters. At some point you’ll want to gather feedback for your manuscript, and you’ll need to polish your prose and writing style too.
This is where many writers run into problems—trying to juggle all of these things at once is a recipe for failure.
Not only will you end up redoing work because you went in without a plan, but you’ll also be at risk of breaking parts of your story without realizing it. Meanwhile, you’ll be left alone to face the stressful realization that your story has flaws—and potentially big ones.
All of these things can be crushing for you as a writer.
Fortunately, surviving the editing process isn’t impossible—you just need to know what you’re getting into, before you actually start working. By having a plan, you can compartmentalize each of these steps, allowing you to focus on them one at a time. Editing isn’t just about rewriting, after all—you’ll need to analyze and understand your story first, at least if you want to truly root out its problems.
In the end, editing will always present its own challenges. Still, that doesn’t mean you can’t master the process, or even learn to enjoy it—whether you’re an editing nerd like me or not!
While every writer eventually develops their own unique editing process, below are the ten steps I’ve come to rely on. I hope they can help guide you as you put the finishing touches on your story!
How to Edit Your Novel in 10 Steps
#1 Your First Read-Through:
Before you can edit your novel, you’ll need to prepare yourself.
You see, up until now you’ve been solidly in writing mode while creating your first draft. However, editing requires a different set of skills—rather than unfettered creativity, editing is about analysis and logic. This means you need a break, both to give yourself some healthy perspective on your story and to give you a chance to adjust your mindset.
So, before you actually dive into editing, set your manuscript aside for at least two weeks. Take this time to rest and relax, returning to your story only once your “writing vacation” is finished.
Then, you can start by refamiliarizing yourself with your novel.
To do this, sit down and read your entire manuscript, start to finish. Don’t worry about editing anything either. Instead, if you find something that seems wrong, just make a mark in the margins to return to later. This way you can really sink into your story and enjoy what you’ve created, without judging it just yet. From there, once you’ve finished reading your novel and relearning your story, you can start analyzing what you’ve created.
#2 Reverse Outlining:
 Just like you—hopefully—outlined your novel before you began writing it, you’ll also want to outline your first draft. This “reverse outline” is essentially the same as any other outline, but instead of planning a new story your focus will be on recording the story you’ve already created.
Fortunately, all the components of your reverse outline will be the same as a regular outline, so this process isn’t too difficult! If you’ve already created an outline, all you need to do is update it so it accurately reflects your first draft. If you’re starting from scratch, you’ll just have a bit more work to fill in the blanks.
Either way, your outline should cover these things:
- The plot of your story
- A summary of the beginning, middle, and end
- Basic info about your cast, including their background and personality
- Character arcs for your main characters, specifically your protagonist
- Any other important information about your story’s world
As you work on creating your reverse outline, you’re not only developing a road map for your story, but also a better idea of what works and what doesn’t. Outlining is fundamentally an analytical process, and this is just one more chance for you to switch gears from writing to editing mode.
Of course, this means the reverse outlining phase is also the perfect time to take notes on anything that is or isn’t working in your story. However, this comes with a caveat—don’t put these fixes into action just yet. For now, simply focus on building a solid reverse outline. You’ll use these notes to create a more cohesive game plan soon.
#3 A Scene Timeline:
Much like you analyzed the big-picture through your reverse outline, your scenes need some love too!
In my experience, the best way to fully understand your scenes is by creating a scene timeline, which is essentially a chronological list cataloging every scene in your novel. This will allow you to dig into your pacing and ensure your story keeps readers engaged every step of the way.
If you’re not already familiar with how scenes work, then you can check out this article for a much more detailed explanation. However, long story short is that scenes are split into two phases: Action and Reaction. The Action phase is all about your characters pursuing their goals and getting into trouble, while the Reaction phase gives them a chance to make plans and process their emotions.
Both of these phases are equally important, so both should be present in your scenes.
To create your scene timeline, all you need to do is go through your manuscript and identify the beginning and end of each of your scenes. Then, list these in your timeline and record their action and reaction phases, as well as the primary goal driving the events of each scene.
By cataloging your scenes now, you’ll have a much stronger idea of how the beat-by-beat events of your story play out. This will be a huge help when ensuring your story is engaging and cohesive in the next step, and it’ll make finding specific sections of your story much easier during your revisions as well!
#4 Creating a Plan:
With all of that analysis done, you can finally create a plan for how you’ll handle the problems you found. This is where you’ll really have to put on your editing cap and do some serious problem solving, since this game plan should be an organized list of everything that needs fixing in your story.
To get started, I recommend sorting through your notes based on how they affect your novel—are they focused on the beginning, middle, end, or the entirety of your story? You might also want to sort them based on their primary focus, such as character, plot, or worldbuilding. Importantly, this isn’t the time to worry about your prose or writing style. Those will come up later in the process.
Either way, read over your notes and consider your story:
- Does the beginning of your story set the right expectations for your reader?
- Does your story’s conflict have a meaningful effect on your story world?
- Do you have a strong story structure guiding your plot?
- Does your protagonist have a compelling character arc?
- Do your plot points and characters connect?
There are dozens of questions you could ask yourself at this stage, but these five should act as a nice baseline to get you started. You’ll likely find that these questions also reveal further problems with your story than you originally found, so take notes on those as you go.
Finally, you can finalize your game plan by reviewing your notes and writing out how you plan to fix them. Do some research, take your time brainstorming potential options, and write a detailed plan of attack for how you’ll fix your story going forward.
#5 Major Revisions:
With your analysis done, your notes organized, and your plan created, it’s time to revise at last!
Overall, this is a pretty straightforward process, and is really just about putting pen to paper and making these changes happen. However, you may find yourself tempted to go beyond the storytelling problems you focused on in your game plan, so here’s a tip:
Don’t.
Do everything you can to stay focused and disciplined while finishing this first round of rewrites and don’t get distracted trying to perfect your prose or tweak your writing style. While these things are all important, remember that managing the editing process is all about focusing on one thing at a time, and at this point that one thing is your storytelling. So, for now just worry about your plot and characters, even if your prose gets a bit messy along the way.
#6 Scenes and Chapters:
With your major rewrites completed, you can turn your attention to the smaller aspects of your story—specifically, your scenes and chapters.
If you found any scenes during your revisions that you struggled to fix, now is the time to address those. Take some time to do a deep dive into those problem scenes, picking them apart and analyzing what is working and what isn’t. Are they lacking an important piece of scene structure or a strong and compelling goal? On the other hand, maybe they just don’t contribute enough to your story.
Whatever the problem is, take the time to identify and fix it now.
Likewise, your chapters should also have a bit of structure to them. Chapter breaks aren’t arbitrary markers, after all, and are perhaps one of the biggest ways you’ll shape your reader’s experience with your novel. Ideally, your chapters should form a funnel, starting as your characters form a new goal and following along until that goal reaches its culmination. The next chapter will then continue with their subsequent goal, creating a nice seamless pull throughout your novel.
Of course, cliffhangers are something worth considering, and work especially well for longer chapters with intense moments of conflict. However, I encourage you to use cliffhangers with care—too many and your reader will start to feel like you’re stringing them on, rather than letting them enjoy your story at their own pace.
#7 Gathering Feedback:
Throughout this editing process, most of your work has been done in isolation. However, now that your story is in a solid place, it’s finally time to share your novel with others—as intimidating as that might be!
Feedback is a critical part of the editing process, regardless of the story you’re writing or your writing style. Not only does reader feedback give you a chance to rest and step away from your novel for a bit, but it also gives you a truly outside perspective on your story.
There are a variety of places you can look for feedback:
Beta Readers: These are usually avid readers in your genre who agree to read your manuscript and provide their general thoughts on your story.
Critique Partners: Often fellow writers, critique partners typically swap manuscripts and share notes on each other’s stories.
Editors: Editors are the experts of the writing world, and will provide the most in-depth and detailed feedback on your story, including everything from big-picture notes to detailed breakdowns.
Each of these groups can be hugely valuable to your novel, and I encourage you to work with as many of them if you can. Of course, each will have their own pros and cons for you to consider when choosing which groups are right for you:
Beta Readers: Beta readers are a great way to get a feel for how your target reader will respond to your novel, though their feedback isn’t always the most in-depth.
Critique Partners: Critique partners are a fantastic way to make friends in the writing community, but make sure you have the time to critique their novel as well.
Editors: By far the fastest way to improve your writing skill is to work with a professional editor, however this is definitely a big investment.
In the end, regardless of who you choose to work with, make sure you pick at least one of these groups. Take some time to gather their feedback and apply it to your novel. It’ll be much better off thanks to their unique perspective!
#8 Polishing Your Prose:
At last, you’re finally ready to tackle your prose!
With your story in its final form, you’re no longer at risk of having to redo tons of work on your prose when you end up scrapping a scene or rewriting a chapter. Unfortunately, prose also tends to be a rather nebulous topic—every writer has a unique style and writing voice to consider.
Still, there are a few things every writer should consider when editing their prose.
#9 Proofreading:
As you approach the finish line of editing your novel, you still have one last thing to consider:
Proofreading.
Proofreading is the final coat of polish you get to put on your novel, ensuring everything is professional and seamless for your readers. Unfortunately, proofreading can also be complex, even on its own. Not only will you need to pay attention to the usual typos and spelling mistakes, but you’ll also need to look for incorrect grammar, formatting issues, passive voice, and more.
In an ideal world, all of us would be able to hire professional proofreaders to review our manuscripts, but that doesn’t mean you can’t DIY this process too. You may opt to invest in a program like ProWritingAid or even just enlist the help of a detail-oriented friend.
If you do plan to proofread your own novel, check out this post for more details on how to make the process just a bit easier.
#10 A Final Reading:
Finally, with your novel revised and polished, you’re ready for step ten:
Reading your story one final time.
Just like you read your novel from start to finish before you began editing, this final reading is your chance to bask in your newly finished novel. Not only that, but it’s also your way of giving yourself permission to become a reader again!

So, put down your pens and highlighters, curl up in a comfy chair, and grab a mug of something tasty. Then, just immerse yourself in your story. Appreciate its strengths and accept the flaws that might still be lingering around the edges. At the end of the day, no novel is perfect, but that doesn’t mean you can’t love the story world you’ve created—and appreciate how far you’ve come since your first draft!
The Value of Having a Plan
In the end, having a plan for editing your novel makes all the difference.

By knowing what you’ll face each step of the way, you can not only ensure you’re maximizing your time and capturing your story’s potential, but also that you aren’t overwhelmed by the flaws you’ll face.
Of course, there are many more twists and turns to the editing process than I can describe here
If you’d like a more detailed guide for editing your novel, I hope you’ll consider checking out The Ten Day Edit. My goal for this book was to leave no stone unturned, and as a result it covers a huge variety of topics and skills that will help you bring your novel to the next level—from scene mapping and chapter structure, to working with readers and processing feedback.
As overwhelming as the editing process may seem on the surface, all you really need is a game plan.
Whether you follow the ten steps above, try out The Ten Day Edit, or develop a system all your own, I hope you master the editing process and create a finished novel you’re proud of. 🙂


Just wanted to leave a quick, but nevertheless heartfelt, Thank You. Finally I started editing and followed a few steps I found here and there – and now I’m standing in The Novel Smithy’s store, glancing around, seeing something I want to take home on every shelf and in every corner.
I will just cuddle up in one of the chairs for a while, if that’s alright.
🙂 Wonderful work, kudos.
I’m so glad I could help Helene! If you ever have any questions you can’t find the answer to, feel free to reach out through my contact page too. If my answer is too long to convey through email, I might end up writing a whole article based on it! 🙂
Thanks so much, Lewis!
Let me dive into the editing process first… there is a LOT to do, especially as pantser – but you know that. I am just so happy that I am exited about all of it rather than intimidated, even though I cannot yet see the end of this strange journey.
Farewell.
Hi Lewis, just wondering who won the books in the contest.
Thanks,
Hey Jim! I’m still waiting to hear back from the second winner. If they get in touch with me within the next few days I’ll be able to announce it to the newsletter, but if not I’ll have to draw a new winner. Sorry for the wait!